

Choosing the right paint is one of the biggest challenges in scale modeling, whether you’re a beginner or an experienced modeler aiming for a flawless finish. Today, there are more options than ever: acrylics, enamels, lacquers, oils… and to make things even more confusing, “lacquer-type acrylics” that behave like lacquer without actually being lacquer.
So many options lead to lots of questions: What are the real differences? Which one should you use for a base coat? Which varnish should you apply before decals or washes? What happens if your colors come from different paint families? Is it safe to spray lacquer over acrylic?
In this guide, we’ll answer all of that and more: how each paint behaves, how to combine them, when to use primer, which varnish to choose, and how to apply weathering effects without ruining your model. You’ll find clear explanations, practical advice, and solutions to common problems manufacturers rarely explain.
Model Paint Types and How to Understand Their Timing and Behavior
Assuming all paints work the same is a big mistake. Each type has unique properties, advantages, and limitations. Let’s break them down:
Acrylic Paint: The Easy-to-Use Option

Acrylics dominate modern model building because of their low odor, easy cleanup, and fast, controlled drying. But don’t assume “fast” means “ready for anything.” Paints labeled “touch-dry in 20 minutes” doesn’t mean fully cured. For masking, decals, or harsh weathering products, we recommend giving them hours (or ideally, a full day) to cure.
If you can’t wait that long, delay other steps as much as possible to avoid fingerprints, peeling, or tape lifting the paint.
💡 Tip: Acrylics don’t bond strongly to bare plastic, so primer is almost mandatory—especially for parts that will be handled. No primer on hand? Here’s a trick: spray a thin coat of lacquer first. Lacquers adhere incredibly well and, especially in a matte finish, create a porous surface that works as an excellent base for acrylics.
Enamel Paint: The Best for Visual Effects

Years ago, enamels were the default for full-body coats. Today, they’ve nearly disappeared as a base paint, but they remain essential for weathering effects. Why? Because they dry slowly, allowing smooth blending and corrections.
Their versatility comes from dilution: thick for coverage, extremely thin for filters and washes. While Humbrol still makes enamel paints, brands like AMMO by MIG, AK Interactive, and Tamiya offer pre-thinned enamel products designed specifically for weathering. This comes in handy when you’re a beginner and may still be getting used to thinning your paints.
Lacquer Paint: The Choice for Speed and Durability

Need a rock-hard surface you can mask quickly without fear? Lacquers are your best bet. They dry in minutes, cover well, level beautifully, and adhere firmly. Perfect for cars, aircraft, and any model requiring a smooth, tough finish—or if you want to move fast.
⚠️ Warning: Lacquer solvents are aggressive. They’ll eat through acrylics if you don’t protect them, and they have a strong, toxic smell. Make sure to use a respirator and paint in an area with good ventilation when using lacquers.
Oil Paint: Where Time Creates Perfection

While oil paints aren't the go-to for your base coats, their true magic lies in the nuanced world of shading, streaking, and weathering. The primary benefit, and a game-changer for many professional modelers, is their incredibly slow drying time. Unlike fast-curing acrylics or enamels, oils can stay workable on your model's surface for hours, or even days. This extended window of opportunity allows you to achieve seamless, soft transitions that are otherwise impossible. You can meticulously blend colors, create subtle gradients, or feather out harsh edges with ease, all without the pressure of a ticking clock.
Professional modelers often rely on this slow-drying nature to build up complex effects in layers. For example, to create a realistic oil streak on a tank, you can apply a tiny dot of oil paint and then use a brush dampened with a suitable thinner (like mineral spirits or odorless turpentine) to pull and blend it downwards. If you're not happy with the result, you can wipe it away and start over—a luxury you don't have with other paint types. This forgiveness makes them perfect for creating rust textures, paint chipping effects, or modulating a base color to add visual interest and depth. Just remember to work in thin layers and have patience, and you'll find that oil paints are an indispensable tool for taking your models to the next level of realism.
Hybrid Paint: Tamiya Paint and ATOM Paint
Some modern product lines don’t fit neatly into “acrylic” or “lacquer” labels, which can create a bit of confusion. Let’s take a look at two popular examples:
Tamiya Paint: Acrylic That Isn’t Just Acrylic

Tamiya’s X/XF range isn’t water-based like most acrylics. It’s alcohol-based, which means if you thin it with water, it clumps. Use X-20A thinner or isopropyl alcohol.
Tamiya also offers pure lacquers (LP series), enamel products (like Panel Line Accent), and lacquer sprays (TS series). That’s 3 different formulas from the same brand—it’s no wonder mistakes can happen!
A common question we get is, “Can you mix Tamiya with lacquers?” The answer: Yes. Tamiya acrylics (alcohol-based) can mix with lacquers and be thinned using lacquer thinners from AK Interactive, Mr. Hobby, or Tamiya itself, among others.
ATOM, Cobra Motor, Rail Center: Acrylic Paints with a Lacquer Attitude

ATOM, Cobra Motor, and Rail Center are acrylic paints formulated to behave differently: excellent coverage, quick drying, and strong adhesion—even without primer if cured for at least 24 hours. They also self-level beautifully, even under heavy application.
💡 Tip: Make sure to only use water, acrylic thinner, or alcohol to thin these paints out. Because of how similar these formulas behave to lacquer, many assume lacquer thinner will work. It will not, and you run the risk of ruining your beautiful project.
Acrylic Varnish: More Than Just Shine
Varnishes aren’t paints, but they’re critical for protecting your work. Acrylic varnishes are the unsung heroes of the scale modeling world, providing a crucial final layer that offers both protection and visual enhancement. The primary benefit is their versatility; they come in a variety of finishes—Ultra Matte, Satin, and Glossy—allowing you to control the final look of your model. A gloss varnish is essential for preparing a surface for decals, as it creates a smooth, non-porous finish that prevents "silvering" (trapped air beneath the decal). A matte or satin varnish, on the other hand, is perfect for a final topcoat to seal in all your weathering and painting, giving the model a realistic, non-reflective appearance.
Professional modelers often stress the importance of applying acrylic varnishes in thin, even coats. The golden rule is to use multiple light layers rather than one thick one, as a heavy application can obscure fine details and lead to an undesirable "milky" or foggy finish, especially with matte varnishes.
💡 Tip: Mist the varnish from a slight distance with an airbrush, building up the layers gradually until you achieve the desired effect. Always let each coat of varnish dry completely before applying the next and be sure your model is free of any dust or debris. This simple, final step ensures your hard work is protected and looks its best for years to come.

For protection before decals or strong weathering, use heavy-duty varnishes: Aqua Gloss Clear, A-Stand Aqua Gloss, Hard Rock Glossy (AMMO), or Tamiya’s X-22. These stand up to enamel products—if fully cured.

The Tough & Transparent World of Lacquer Varnishes
For modelers seeking the ultimate in durability and a pristine finish, lacquer varnishes are the gold standard. These solvent-based varnishes create an exceptionally hard, chemical-resistant shell over your model. Their primary benefit is their incredible toughness, which makes them perfect for a final topcoat, as they protect against nicks, scratches, and the aggressive solvents found in many weathering products. Professionals often use a gloss lacquer to seal in decals and protect their base coat, creating a robust barrier that allows them to apply and remove subsequent weathering effects without damaging the work beneath.
When using lacquer varnishes, a few professional tips are essential. Always work in a well-ventilated area and use an airbrush, as their fast-drying nature makes brush application difficult. Apply them in multiple light, thin coats to prevent "spiderwebbing" or a cloudy finish. Most importantly, ensure your previous paint layers, especially acrylics, are completely dry and cured before you apply a lacquer varnish, as the strong solvents can damage them. Used correctly, a lacquer varnish will provide a flawless, professional finish that will preserve your masterpiece for years to come.

Layer Compatibility: How to Avoid Disaster
This isn’t about mixing paints together—it’s about stacking them correctly. The golden rule: harder (stronger solvents) goes under softer. If you reverse it, the top layer will eat at the layer below.
Safe order: Plastic → Primer (or lacquer) → Acrylic → Protective varnish → Enamel effects → Oils → Final varnish.
A common question we get is, “Can you spray lacquer over acrylic paint protected with acrylic varnish?” Yes, if the varnish is strong and fully cured. Even then, mist on light coats with an airbrush—never flood it.
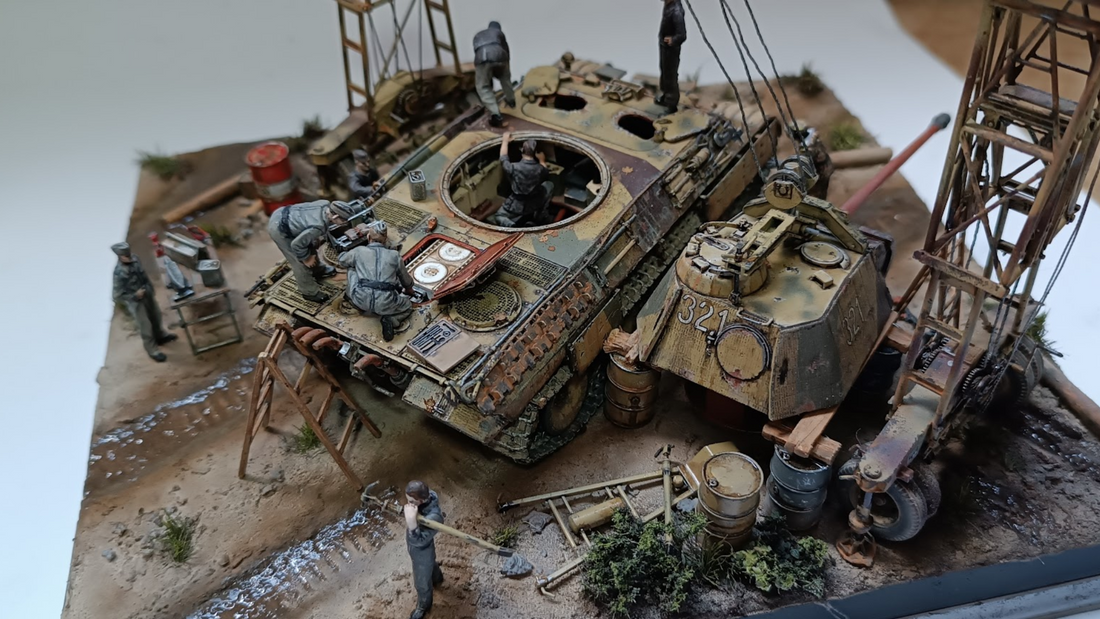
Weathering: Acrylic vs. Enamel Filters and Washes
Both acrylic and enamel products exist for filters and washes, but they behave very differently.
Enamel Filters and Washes:
Pros: Slow drying allows smooth blending and easy corrections.
Cons: Require protective varnish if applied over acrylic paint.

Acrylic Filters and Washes:
Pros: Fast drying, odorless, water-cleanup.
Cons: Little time for blending; mistakes are hard to fix without damaging the base coat.

Which should you use? If you want control and can take your time, go enamel. If you need speed or can’t use solvents indoors, acrylic is the way to go.
In any case, if you don't have the specific products on hand, either in enamel or acrylic, to create filter, shadow, or paneling effects, you can always create them yourself with the oils, acrylic paints, or enamels you have on hand in the color you need. To do this, simply dilute these paints with the appropriate dilutant in the optimal proportions to achieve the desired effects. There's no perfect proportion because everything depends on the paint and color you have (and therefore, the amount of pigments it contains). So, the proportions below are for reference and can always be adjusted to suit your needs:
FILTERS:
- Recommended ratio (approximate): 1 part paint to 10 to 15 parts thinner or thinning medium.
- Recommended thinner (approximate): Specific thinner for the type of paint (water for acrylics, thinner for enamels or oils).
WASHES:
- Recommended ratio (approximate): 1 part paint to 4 to 6 parts thinner.
- Recommended thinner (approximate): Water (for acrylics), specific thinners (for enamels or oils), or mediums.
Real Application: Combining Different Paints Safely
Scenario: Olive Drab base coat (Vallejo acrylic for example), metallic parts in ATOM colors paint, and enamel washes.
Apply a strong gloss varnish (Aqua Gloss Clear for example) over the base coat.
Add decals, then seal them with a satin or glossy varnish.
Apply enamel washes confidently—or acrylic ones if you prefer.
Optional: If planning more effects, add another protective varnish (matte or gloss) before continuing.
Finish with a matte coat for a uniform look and better pigment grip.
Final Thoughts
Success in modeling isn’t about sticking to one paint type—it’s about understanding their chemistry and respecting cure times. Follow the right order, choose the right varnish, and you can mix acrylics, lacquers, and enamels without fear.
Find everything you need—AMMO acrylics, Mr. Color lacquers, ATOM paints, and heavy-duty varnishes—at SprayGunner.
As always, contact us today at (813) 336-4201 for assistance and make sure to check out our calendar of events and come see us some time!
2 comments
Hernán Burgos
Excelente artículo.
Me ha aclarado varias incógnitas que las tenía pendientes durante algún tiempo. Ahora ya se que puedo mezclar varios tipos de acabados, con los cuidados respectivos, recomendados en este artículo.
Pato
Excelente artículo