


-

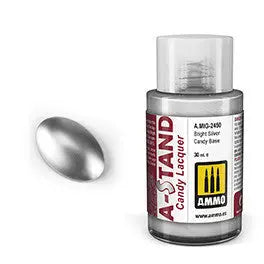 Vendor:AMMO by Mig Jimenez
A-STAND Candy Lacquer Bright Silver Candy Base
Regular price $8.69 USDRegular price -

 Vendor:AMMO by Mig Jimenez
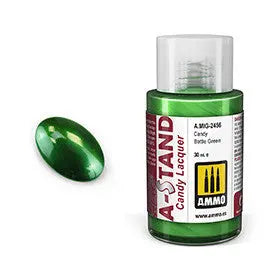
A-STAND Candy Lacquer Candy Bottle Green
Regular price $8.69 USDRegular price -

 Vendor:AMMO by Mig Jimenez
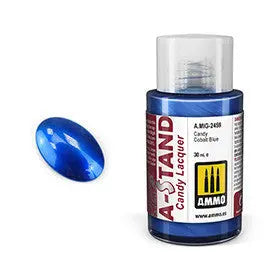
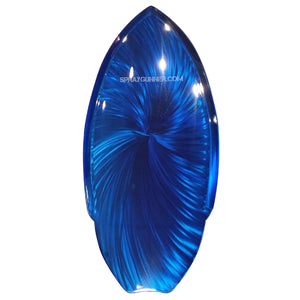
A-STAND Candy Lacquer Candy Cobalt Blue
Regular price $8.69 USDRegular price -

 Vendor:AMMO by Mig Jimenez
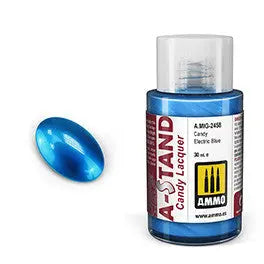
A-STAND Candy Lacquer Candy Electric Blue
Regular price $8.69 USDRegular price -

 Vendor:AMMO by Mig Jimenez
A-STAND Candy Lacquer Candy Emerald Green
Regular price $8.69 USDRegular price -

 Vendor:AMMO by Mig Jimenez
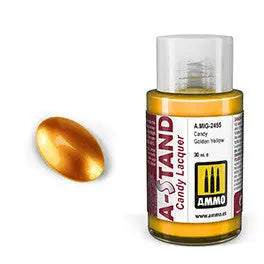
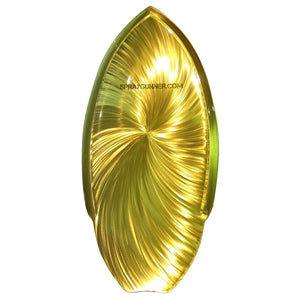
A-STAND Candy Lacquer Candy Golden Yellow
Regular price $8.69 USDRegular price -
Sold out

 Vendor:AMMO by Mig Jimenez
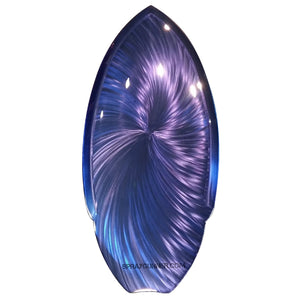
A-STAND Candy Lacquer Candy Indigo
Regular price $8.69 USDRegular price -

 Vendor:AMMO by Mig Jimenez
A-STAND Candy Lacquer Candy Lemon Yellow
Regular price $8.69 USDRegular price -

 Vendor:AMMO by Mig Jimenez
A-STAND Candy Lacquer Candy Orange
Regular price $8.69 USDRegular price -

 Vendor:AMMO by Mig Jimenez
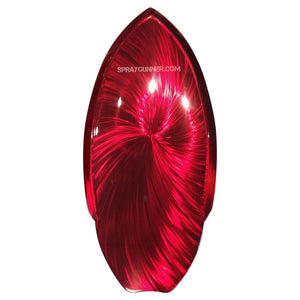
A-STAND Candy Lacquer Candy Red
Regular price $8.69 USDRegular price -

 Vendor:AMMO by Mig Jimenez
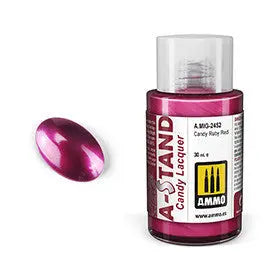
A-STAND Candy Lacquer Candy Ruby Red
Regular price $8.69 USDRegular price -

 Vendor:AMMO by Mig Jimenez
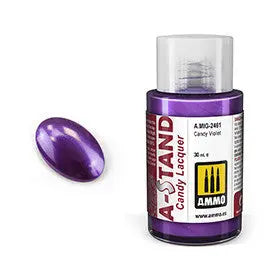
A-STAND Candy Lacquer Candy Violet
Regular price $8.69 USDRegular price -

 Vendor:Createx
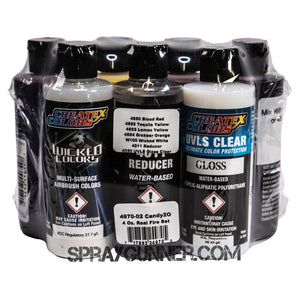
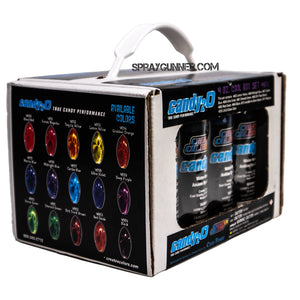
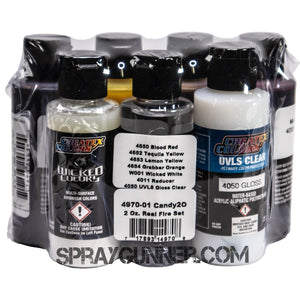
Createx candy2o colors Real Fire Set 4oz
Regular price $63.79 USDRegular price -

 Vendor:Createx
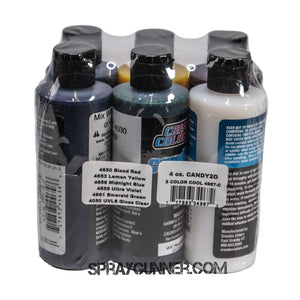
Createx candy2o Cool Set 4oz. (4967-C) kandy paint
Regular price $49.75 USDRegular price -

 Vendor:Createx
Createx candy2o Most Popular candy paint set with additives
Regular price $75.00 USDRegular price -

 Vendor:Createx
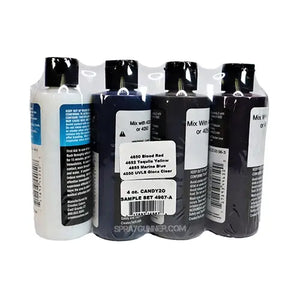
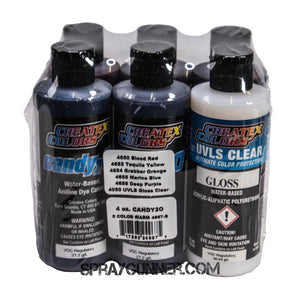
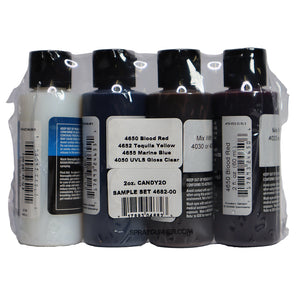
Createx candy2o Sample Set
Regular price $41.25 USDRegular price -

 Vendor:Createx
Createx candy2o Warm Set 4oz. (4967-B) custom water-based candy paint
Regular price $49.75 USDRegular price -

 Vendor:Createx
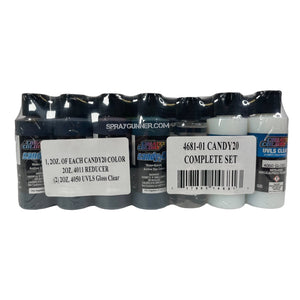
Createx Colors 2oz candy2o Complete Master set
Regular price $119.47 USDRegular price -

 Vendor:Createx
Createx Colors 4oz candy2o Box Set Warm by Createx
Regular price $110.00 USDRegular price$110.00 USDSale price $110.00 USD -

 Vendor:Createx
Createx Colors candy2o 4oz Box Set Cool by Createx
Regular price $110.00 USDRegular price -

 Vendor:Createx
Createx Colors candy2o Blood Red 4650
Regular price From $7.23 USDRegular price -

 Vendor:Createx
Createx Colors candy2o Caribe Blue 4657
Regular price From $7.23 USDRegular price -

 Vendor:Createx
Createx Colors candy2o Emerald Green 4661
Regular price From $7.23 USDRegular price -

 Vendor:Createx
Createx Colors candy2o Grabber Orange (4654)
Regular price From $7.23 USDRegular price -

 Vendor:Createx
Createx Colors candy2o Hobby paint Set
Regular price $34.40 USDRegular price -

 Vendor:Createx
Createx Colors candy2o Primary Set
Regular price From $36.00 USDRegular price -

 Vendor:Createx
Createx Colors candy2o Real Fire Paint Set
Regular price $35.94 USDRegular price -

 Vendor:Createx
Createx Colors candy2o Sample Set
Regular price $26.00 USDRegular price -

 Vendor:Createx
Createx Colors candy2o Sunset Magenta (4651)
Regular price From $7.23 USDRegular price -

 Vendor:Createx
Createx Colors candy2o: Black (4664)
Regular price From $7.23 USDRegular price -

 Vendor:Createx
Createx Colors candy2o: Brandywine (4665)
Regular price From $7.23 USDRegular price -

 Vendor:Createx
Createx Colors candy2o: Deep Purple (4659)
Regular price From $7.23 USDRegular price -

 Vendor:Createx
Createx Colors candy2o: Dirt Track Brown (4662)
Regular price From $7.23 USDRegular price -

 Vendor:Createx
Createx Colors candy2o: Lemon Yellow 4653
Regular price From $7.23 USDRegular price -

 Vendor:Createx
Createx Colors candy2o: Marine Blue (4655)
Regular price From $7.23 USDRegular price -

 Vendor:Createx
Createx Colors candy2o: Midnight Blue (4656)
Regular price From $7.23 USDRegular price


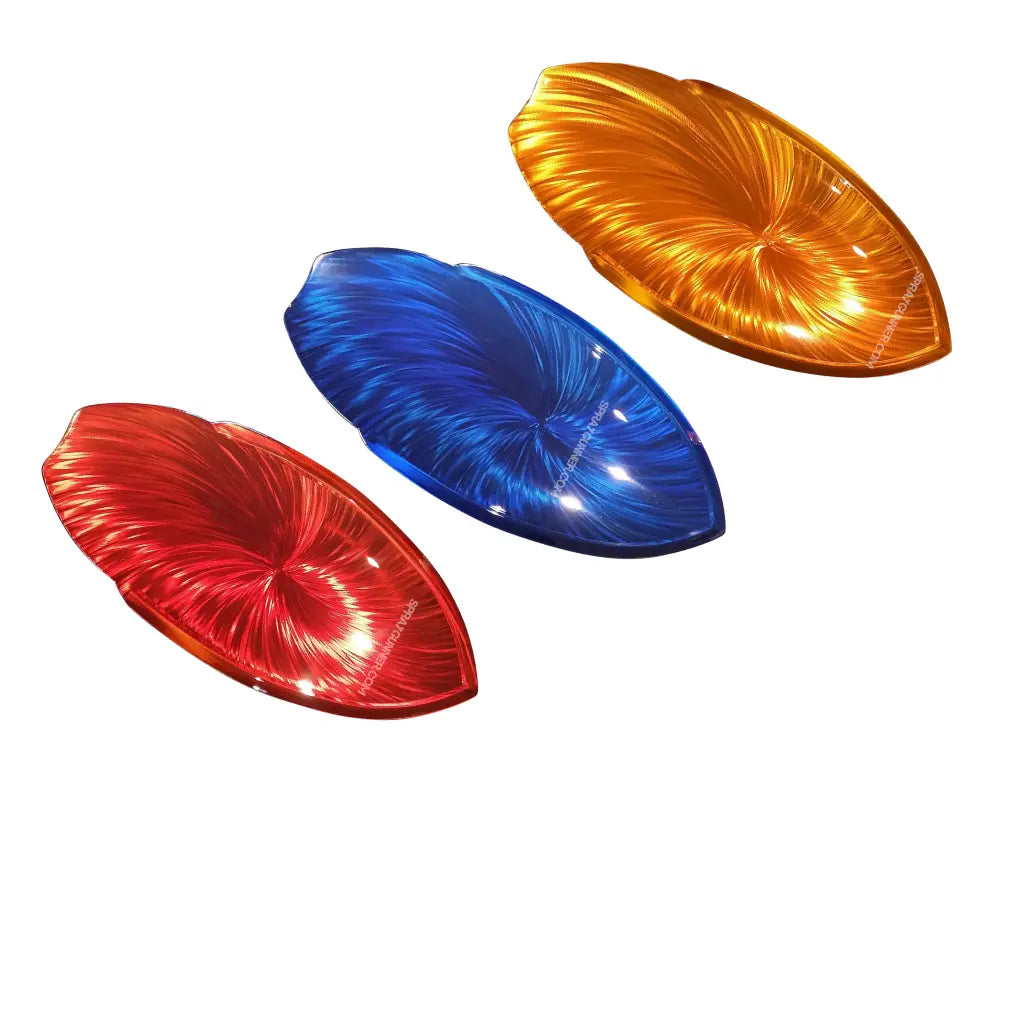
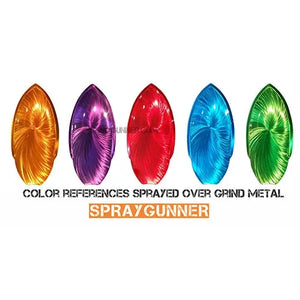
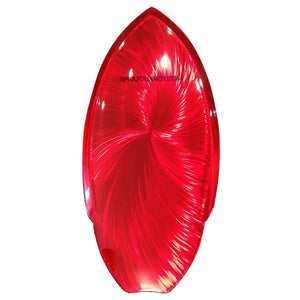
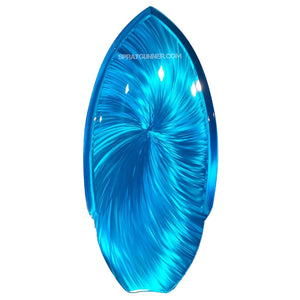
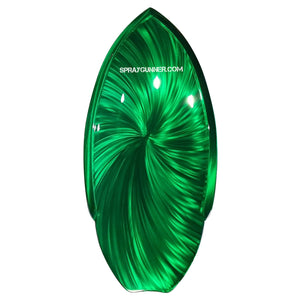
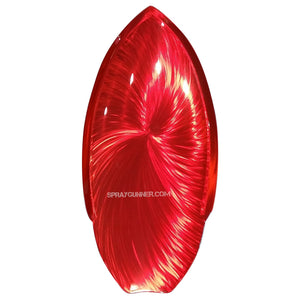
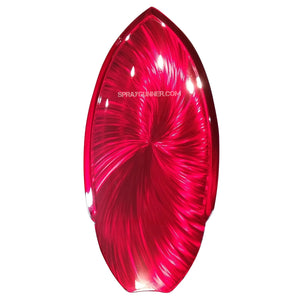
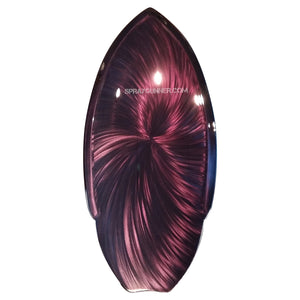
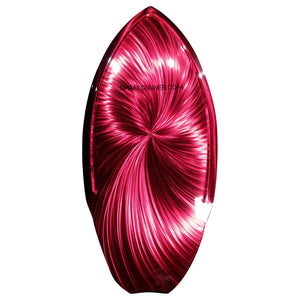
Candy paint colors are extremely popular among exotic car fans.
These bright and translucent paints lead to unique designs and eye catching finishes. Originally entered the market as solvent-based solution, kandy colors now available in water-based formula for simple and lasting application.
Custom Kandy and Candy Paint Colors for Automotive Finishes
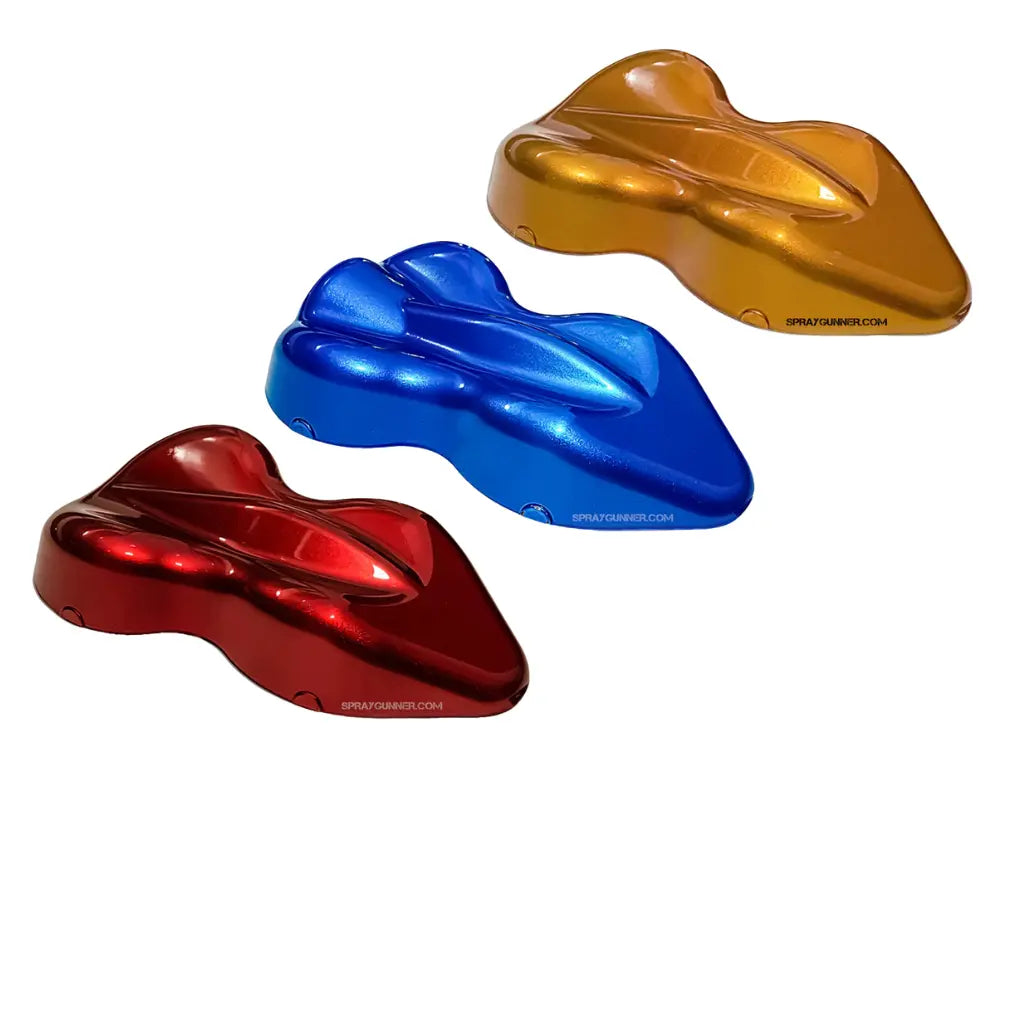
Transform your vehicle with our premium range of custom kandy and candy paint colors. Designed for automotive enthusiasts who seek vibrant, eye-catching finishes, these paints deliver deep, lustrous colors that make any car stand out. Our candy paint colors provide excellent coverage and a high-gloss finish, ensuring your custom paint job looks professional and unique.
Key Features:
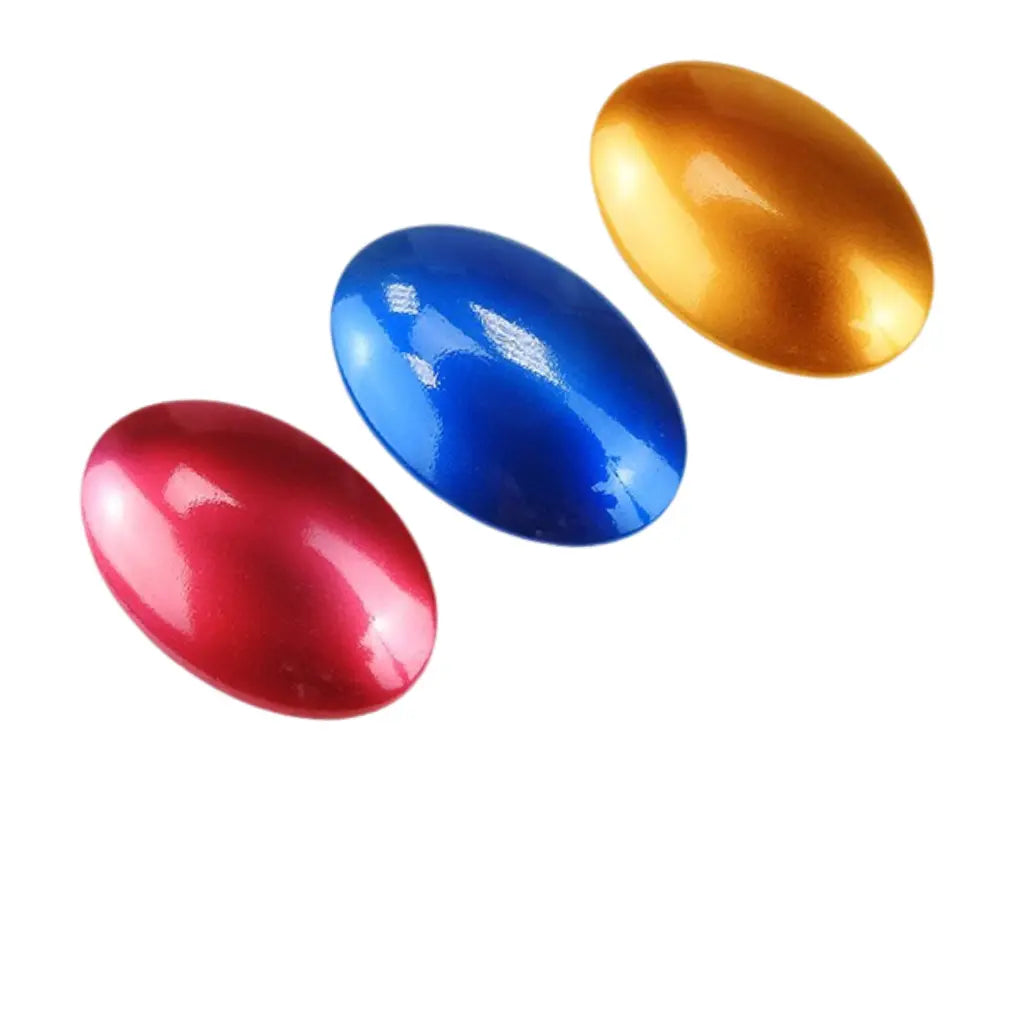
- Vibrant Colors: Achieve rich, deep hues with our extensive selection of candy paint colors.
- High Gloss Finish: Provides a smooth, glossy finish that enhances the overall appearance of your vehicle.
- Durable and Long-Lasting: Formulated for superior durability, resisting fading and weathering.
- Easy Application: Suitable for professional and DIY use with both spray guns and airbrushes.
- Customizable: Mix and match to create unique custom kandy colors tailored to your style.
Why Choose Our Candy Paint Colors?
- Professional Quality: Trusted by automotive enthusiasts and professionals for consistent, high-quality results.
- Wide Range of Colors: Extensive palette to choose from, allowing for personalized custom finishes.
- User-Friendly: Formulated for ease of use, making it ideal for both beginners and experienced painters.
- Superior Coverage: Provides excellent coverage, reducing the number of coats needed for a flawless finish.
Enhance your vehicle's appearance with our superior candy paint colors. Order now and achieve the custom kandy look you've always wanted!